
Service Mesh - Kubernetes & Istio 开发环境搭建(Mac OS)
文章目录1.1. Kubernetes环境准备1.1.1. 安装Docker Desktopi1.1.2. 安装Kubernetes1.1.3. 验证Kubernetes1.1.4. 部署dashboard1.1.5. 查看dashboard1.2. Istio1.2.1. 下载Istio1.2.2. 安装 Istio1.2.2.1. 配置文件1.2.3. 安装1.2.3.1. 启动自动注入1.2
文章目录
1.1. Kubernetes环境准备
1.1.1. 安装Docker Desktopi
Istio 依托于 Kubernetes,因此,首先我们先安装 Kubernetes。Kubernetes 有许多安装的方法,包括:Minikube、kubeadm、Docker Desktop。本文选用较为便捷的 Docker Desktop。
前往Docker Desktop官网选择对应系统安装包下载并安装。

1.1.2. 安装Kubernetes
- 打开Docker Desktop,点击Preferences,选择左侧的Kubernetes并勾选Enable Kubernetes,最后点击Apply&Restart

- 安装Kubernetes后,Kubernetes显示Running状态,打开Resource,在Advance中将CPU设置4个核心(至少4个),内存设置为至少8GB,点击Apply&Restart
1.1.3. 验证Kubernetes
- 首先,先切换 Kubernetes 的 config 到 docker-desktop
liupenghui:~ penghuiliu$ kubectl config use docker-desktop
Switched to context "docker-desktop".
- 查看命名空间
liupenghui:~ penghuiliu$ kubectl get ns
NAME              STATUS   AGE
default           Active   3h35m
kube-node-lease   Active   3h35m
kube-public       Active   3h35m
kube-system       Active   3h35m
1.1.4. 部署dashboard
Kubernetes dashboard托管在https://github.com/kubernetes/dashboard
- yaml文件
wget https://raw.githubusercontent.com/kubernetes/dashboard/v2.3.1/aio/deploy/recommended.yaml
- 执行安装命令
liupenghui:~ penghuiliu$ kubectl apply -f recommended.yaml
namespace/kubernetes-dashboard created
serviceaccount/kubernetes-dashboard created
service/kubernetes-dashboard created
secret/kubernetes-dashboard-certs created
secret/kubernetes-dashboard-csrf created
secret/kubernetes-dashboard-key-holder created
configmap/kubernetes-dashboard-settings created
role.rbac.authorization.k8s.io/kubernetes-dashboard created
clusterrole.rbac.authorization.k8s.io/kubernetes-dashboard created
rolebinding.rbac.authorization.k8s.io/kubernetes-dashboard created
clusterrolebinding.rbac.authorization.k8s.io/kubernetes-dashboard created
deployment.apps/kubernetes-dashboard created
service/dashboard-metrics-scraper created
deployment.apps/dashboard-metrics-scraper created
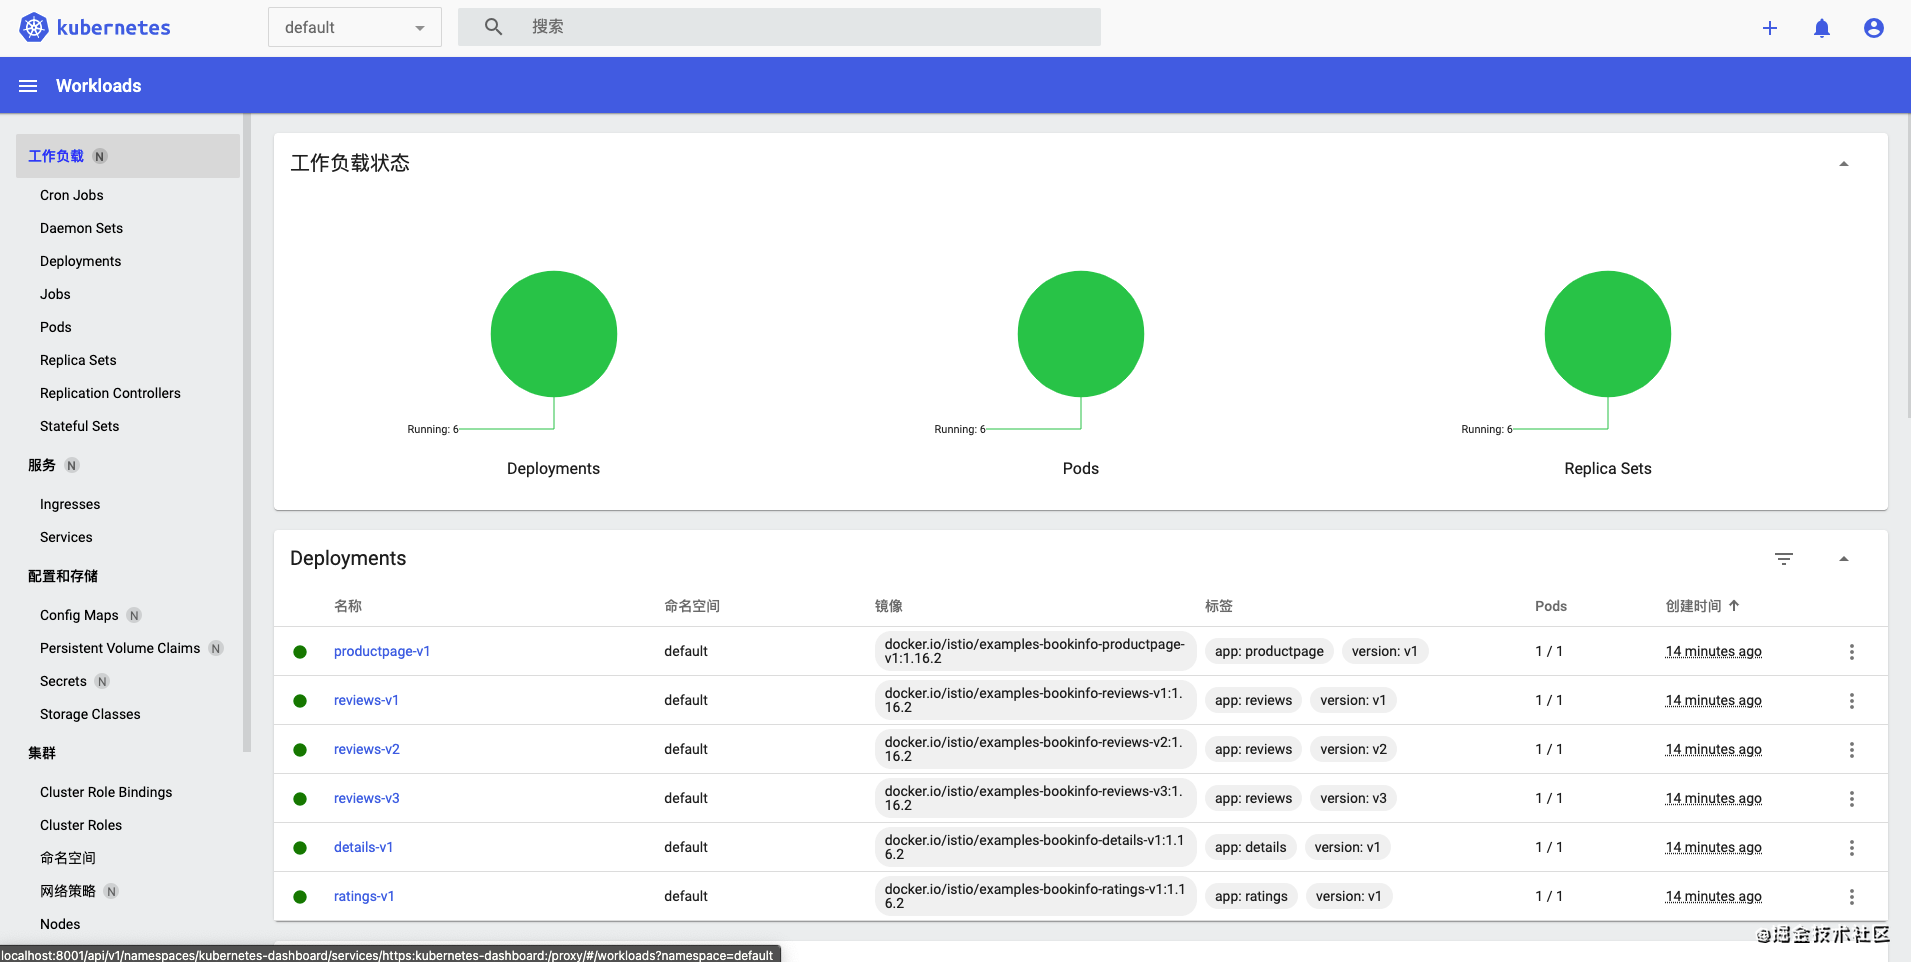
1.1.5. 查看dashboard
liupenghui:~ penghuiliu$ kubectl proxy
Starting to serve on 127.0.0.1:8001
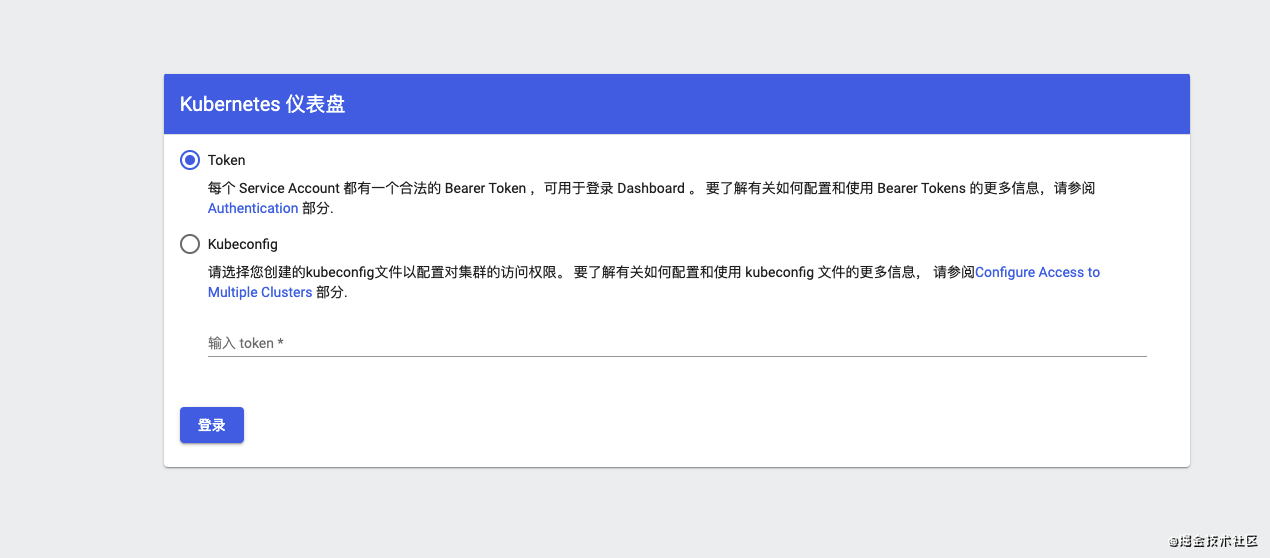
这是因为权限的原因,可通过以下方法获取 Token。
首先,创建 ServiceAccount
liupenghui:kubernetes penghuiliu$ cat <<EOF | kubectl apply -f -
> apiVersion: v1
> kind: ServiceAccount
> metadata:
>   name: admin-user
>   namespace: kubernetes-dashboard
> EOF
serviceaccount/admin-user created
创建 ClusterRoleBinding 为 dashboard sa 授权集群权限 cluster-admin
liupenghui:kubernetes penghuiliu$ cat <<EOF | kubectl apply -f -
> apiVersion: rbac.authorization.k8s.io/v1
> kind: ClusterRoleBinding
> metadata:
>   name: admin-user
> roleRef:
>   apiGroup: rbac.authorization.k8s.io
>   kind: ClusterRole
>   name: cluster-admin
> subjects:
>   - kind: ServiceAccount
>     name: admin-user
>     namespace: kubernetes-dashboard
> EOF
clusterrolebinding.rbac.authorization.k8s.io/admin-user created
获取 Token
liupenghui:kubernetes penghuiliu$ kubectl -n kubernetes-dashboard describe secret $(kubectl -n kubernetes-dashboard get secret | grep admin-user | awk '{print $1}')
Name:         admin-user-token-qvn2v
Namespace:    kubernetes-dashboard
Labels:       <none>
Annotations:  kubernetes.io/service-account.name: admin-user
              kubernetes.io/service-account.uid: ccd1f196-261f-484b-ba0d-d90c7666681b

Type:  kubernetes.io/service-account-token

Data
====
ca.crt:     1066 bytes
namespace:  20 bytes
token:      eyJhbGciOiJSUzI1NiIsImtpZCI6ImNxZkt4VnFnMEFwMTRzZjJJS1BzcWNIT1lCV1QyWkVaSUF3bGtSVjBxNzAifQ.eyJpc3MiOiJrdWJlcm5ldGVzL3NlcnZpY2VhY2NvdW50Iiwia3ViZXJuZXRlcy5pby9zZXJ2aWNlYWNjb3VudC9uYW1lc3BhY2UiOiJrdWJlcm5ldGVzLWRhc2hib2FyZCIsImt1YmVybmV0ZXMuaW8vc2VydmljZWFjY291bnQvc2VjcmV0Lm5hbWUiOiJhZG1pbi11c2VyLXRva2VuLXF2bjJ2Iiwia3ViZXJuZXRlcy5pby9zZXJ2aWNlYWNjb3VudC9zZXJ2aWNlLWFjY291bnQubmFtZSI6ImFkbWluLXVzZXIiLCJrdWJlcm5ldGVzLmlvL3NlcnZpY2VhY2NvdW50L3NlcnZpY2UtYWNjb3VudC51aWQiOiJjY2QxZjE5Ni0yNjFmLTQ4NGItYmEwZC1kOTBjNzY2NjY4MWIiLCJzdWIiOiJzeXN0ZW06c2VydmljZWFjY291bnQ6a3ViZXJuZXRlcy1kYXNoYm9hcmQ6YWRtaW4tdXNlciJ9.XsUoGF1gbw3xL7QM1C8e_Yx2LC3VoOMyaURfBAwKDJM_WqEZa2Q0M-hvWAZHO-xvxFCfcS-WeOMLd25rQGWI_yEk_QMxUBQbBFb8Hy9KwRCvGvXdg2OIo6MTdUfcrP0MNm51kATOQ6i2pRCMvInEq_uy0PNrDG36kK2e3Gk0_L_EeOqgAsFn-K-0vk0BkGK_YKgwPDTwbgGCsFxHQnSP1OnhC1YAW6_-rW-dHWZIitlhXcDCVv3k1MH17K1ztjpHxsSCBdkuSERyUe3ihZJXy8UTx9o9fNvQXHH56e5q0LT8VNbKTdjwjMzpEFQFyODzE9YctTKXPy0imtckyfut7Q
拷贝token,并粘贴,即可进入dashboard
至此,Kubernetes已安装完毕,下面将Istio安装到Kubernetes中。
1.2. Istio
1.2.1. 下载Istio
1、访问 Istio release 页面下载与您操作系统对应的安装文件。在 macOS 或 Linux 系统中,也可以通过以下命令下载最新版本的 Istio:
curl -L https://istio.io/downloadIstio | sh -
2、切换到 Istio 包所在目录下
liupenghui:kubernetes penghuiliu$ cd istio-1.10.2
liupenghui:istio-1.10.2 penghuiliu$ ll
total 48
drwxr-x---@  9 penghuiliu  staff    288  6 22 03:29 ./
drwxr-xr-x   5 penghuiliu  staff    160  7  2 23:25 ../
-rw-r--r--@  1 penghuiliu  staff  11348  6 22 03:29 LICENSE
-rw-r--r--@  1 penghuiliu  staff   5866  6 22 03:29 README.md
drwxr-x---@  3 penghuiliu  staff     96  6 22 03:29 bin/
-rw-r-----@  1 penghuiliu  staff    768  6 22 03:29 manifest.yaml
drwxr-xr-x@  5 penghuiliu  staff    160  6 22 03:29 manifests/
drwxr-xr-x@ 21 penghuiliu  staff    672  6 22 03:29 samples/
drwxr-xr-x@  5 penghuiliu  staff    160  6 22 03:29 tools/
liupenghui:istio-1.10.2
注:安装目录包含如下内容:
- manifests/profiles/ 目录下,有 Kubernetes 相关的 YAML 安装文件
- samples/ 目录下,有示例应用程序
- bin/ 目录下,包含 istioctl 的客户端文件。istioctl 工具用于手动注入 Envoy sidecar 代理。
3、将istioctl客户端路径增加到 path 环境变量中,macOS 或 Linux 系统的增加方式如下:
$ export PATH=$PWD/bin:$PATH
4、验证安装
$ istioctl version --remote=false
1.10.2
注:在使用 Bash 或 ZSH 控制台时,可以选择启动auto-completion option。具体步骤如下:
- Linux Bash
$ cp tools/istioctl.bash ~
$ source ~/istioctl.bash
- macOS
$ cp tools/_istioctl ~
$ source ~/_istioctl
1.2.2. 安装 Istio
1.2.2.1. 配置文件
istioctl 内置了几个配置文件(config profiles)供我们选择。
liupenghui:istio-1.10.2 penghuiliu$ istioctl profile list
Istio configuration profiles:
    default
    demo
    empty
    external
    minimal
    openshift
    preview
    remote
这些配置文件提供了对 Istio 控制平面和 Istio 数据平面 sidecar 的定制内容。 你可以从 Istio 内置配置文件的其中一个开始入手,然后根据您的特定需求进一步自定义配置文件。当前提供以下几种内置配置文件:
- default:根据默认的安装选项启用组件 (建议用于生产部署)。
- demo:这一配置具有适度的资源需求,旨在展示 Istio 的功能。它适合运行 Bookinfo 应用程序和相关任务。 这是通过快速开始指导安装的配置,但是您以后可以通过自定义配置 启用其他功能来探索更高级的任务。
- minimal:使用 Istio 的流量管理功能所需的最少组件集。
- remote:用于配置多集群网格的远程集群。
- empty:什么都不部署。 这可用作自定义配置的基本配置文件。
- preview: preview 配置文件包含实验性功能。 目的是探索 Istio 的新功能。 不能保证稳定性,安全性和性能-使用风险自负。
如果你想进一步自定义安装 Istio 和 addons,你可以在istioctl install的时候增加--set <key>=<value>配置项
如果你想查看配置文件中都有那些配置,可以通过profile dump命令:
liupenghui:istio-1.10.2 penghuiliu$ istioctl profile dump demo
2021-07-02T15:46:04.560200Z     info    proto: tag has too few fields: "-"
apiVersion: install.istio.io/v1alpha1
kind: IstioOperator
spec:
  components:
    base:
      enabled: true
    cni:
      enabled: false
    egressGateways:
    - enabled: true
      k8s:
        resources:
          requests:
            cpu: 10m
            memory: 40Mi
      name: istio-egressgateway
...
1.2.3. 安装
为了更接近生产环境。因此,这里选用default配置文件部署Istio。
liupenghui:istio-1.10.2 penghuiliu$ istioctl install --set profile=default
This will install the Istio 1.10.2 default profile with ["Istio core" "Istiod" "Ingress gateways"] components into the cluster. Proceed? (y/N) y
✔ Istio core installed
✔ Istiod installed
✔ Ingress gateways installed
✔ Installation complete

Thank you for installing Istio 1.10.  Please take a few minutes to tell us about your install/upgrade experience!  https://forms.gle/KjkrDnMPByq7akrYA
1.2.3.1. 启动自动注入
通过以下命令,为 default 命名空间开启 sidecar 自动注入。
liupenghui:istio-1.10.2 penghuiliu$ kubectl label namespace default istio-injection=enabled
namespace/default labeled
1.2.3.2. 验证Istio
1、部署 Bookinfo 例子程序
liupenghui:istio-1.10.2 penghuiliu$ kubectl apply -f samples/bookinfo/platform/kube/bookinfo.yaml
service/details created
serviceaccount/bookinfo-details created
deployment.apps/details-v1 created
service/ratings created
serviceaccount/bookinfo-ratings created
deployment.apps/ratings-v1 created
service/reviews created
serviceaccount/bookinfo-reviews created
deployment.apps/reviews-v1 created
deployment.apps/reviews-v2 created
deployment.apps/reviews-v3 created
service/productpage created
serviceaccount/bookinfo-productpage created
deployment.apps/productpage-v1 created
2、验证 services & pods
liupenghui:istio-1.10.2 penghuiliu$ kubectl get services
NAME          TYPE        CLUSTER-IP       EXTERNAL-IP   PORT(S)    AGE
details       ClusterIP   10.102.67.51     <none>        9080/TCP   2m31s
kubernetes    ClusterIP   10.96.0.1        <none>        443/TCP    5h6m
productpage   ClusterIP   10.98.232.233    <none>        9080/TCP   2m30s
ratings       ClusterIP   10.101.141.135   <none>        9080/TCP   2m31s
reviews       ClusterIP   10.99.79.75      <none>        9080/TCP   2m30s
liupenghui:istio-1.10.2 penghuiliu$ kubectl get pods -w
NAME                              READY   STATUS    RESTARTS   AGE
details-v1-79f774bdb9-9qk7b       2/2     Running   0          4m8s
productpage-v1-6b746f74dc-52w7g   2/2     Running   0          4m8s
ratings-v1-b6994bb9-8wn5g         2/2     Running   0          4m8s
reviews-v1-545db77b95-hb65f       2/2     Running   0          4m8s
reviews-v2-7bf8c9648f-65qrx       2/2     Running   0          4m8s
reviews-v3-84779c7bbc-j9kk6       2/2     Running   0          4m8s
3、验证服务访问
liupenghui:istio-1.10.2 penghuiliu$ kubectl exec -it $(kubectl get pod -l app=ratings -o jsonpath='{.items[0].metadata.name}') -c ratings -- curl productpage:9080/productpage | grep -o "<title>.*</title>"
<title>Simple Bookstore App</title>
4、部署 gateway
liupenghui:istio-1.10.2 penghuiliu$  kubectl apply -f samples/bookinfo/networking/bookinfo-gateway.yaml
gateway.networking.istio.io/bookinfo-gateway created
virtualservice.networking.istio.io/bookinfo created
确认部署
liupenghui:istio-1.10.2 penghuiliu$ kubectl get gateway
NAME               AGE
bookinfo-gateway   36s
5、获取访问路径
liupenghui:istio-1.10.2 penghuiliu$ kubectl get services -n istio-system
NAME                   TYPE           CLUSTER-IP      EXTERNAL-IP   PORT(S)                                      AGE
istio-ingressgateway   LoadBalancer   10.96.90.225    localhost     15021:30494/TCP,80:31586/TCP,443:30107/TCP   26m
istiod                 ClusterIP      10.98.207.134   <none>        15010/TCP,15012/TCP,443/TCP,15014/TCP        29m
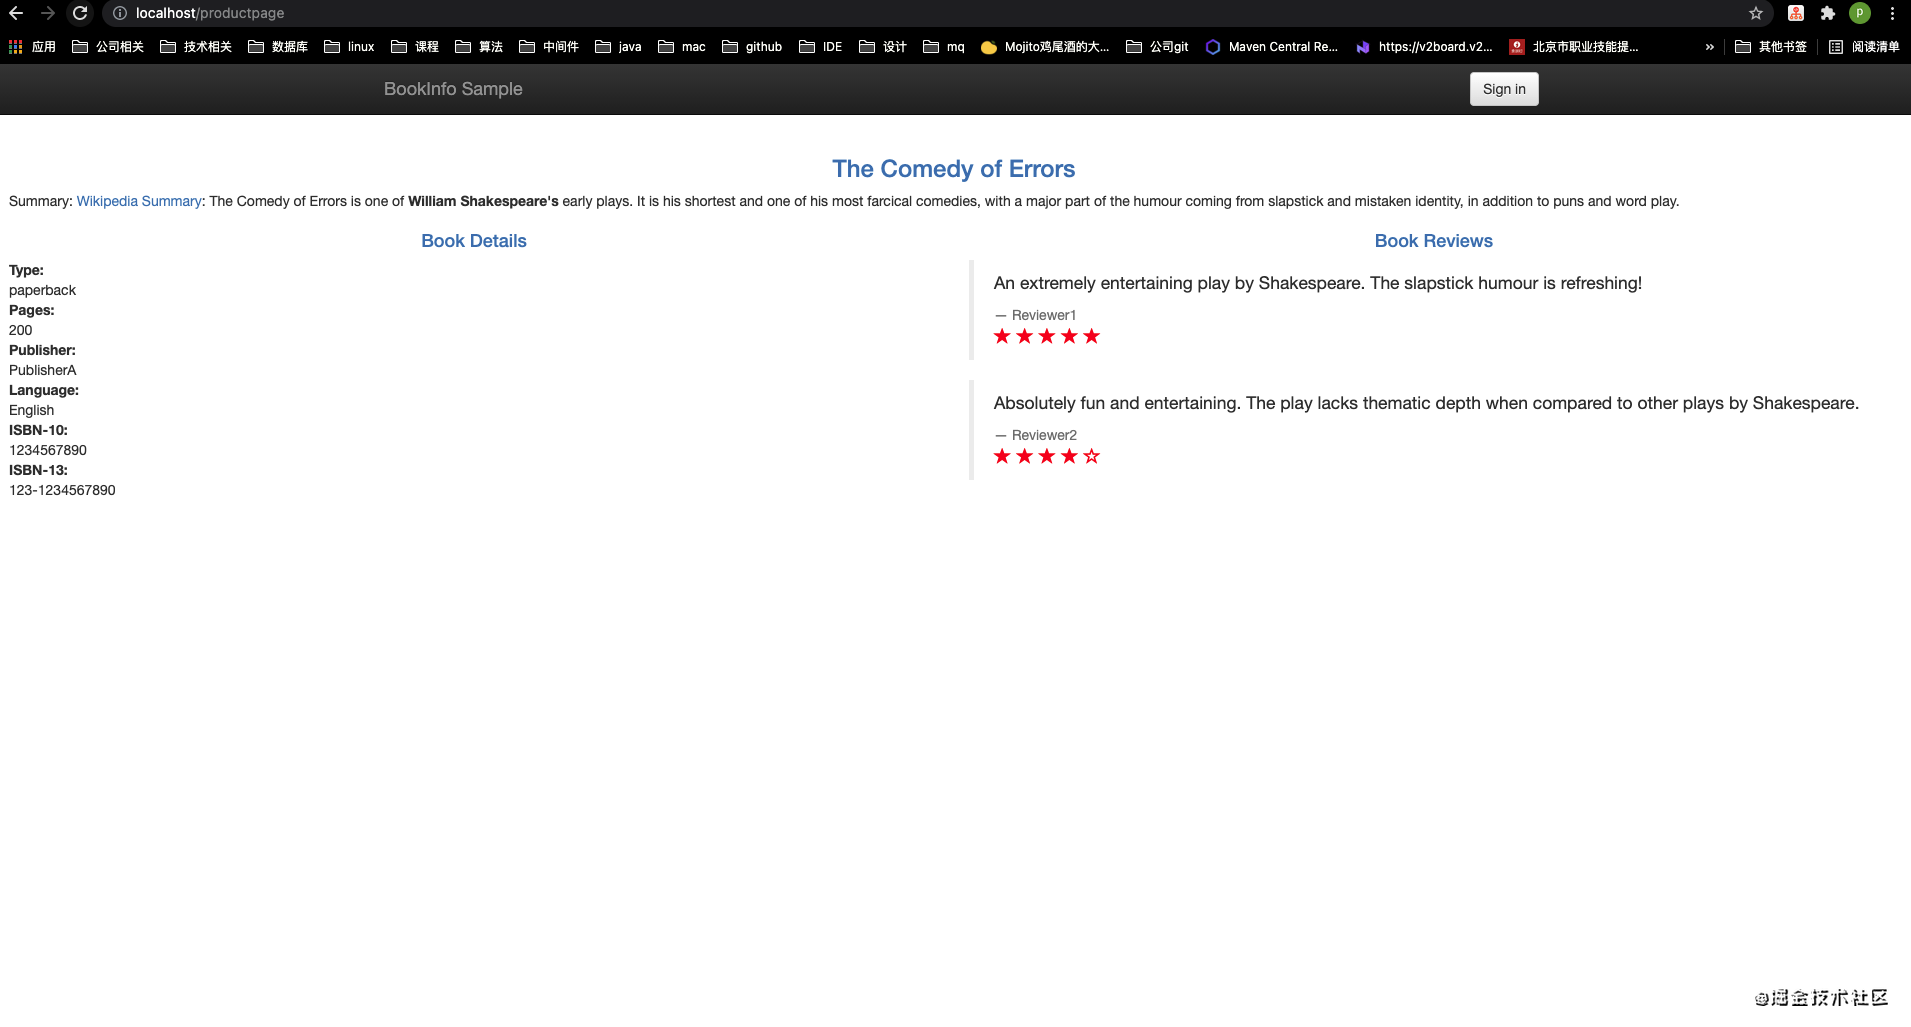
通过查看istio-ingressgateway的EXTERNAL-IP为localhost,可得知访问地址为 http://localhost/productpage
1.3. 小结
至此,我们已经将 Kubernetes & Istio 开发环境搭建完毕
1.4. 参考

一站式 AI 云服务平台
更多推荐

 0
0 0
0- 0


 已为社区贡献1条内容

所有评论(0)