
IDEA搭建openresty+Lua开发环境笔记
配置openresty-1.21.4.1-win64.zip解压后的目录地址。1.openresty-1.21.4.1-win64.zip包的下载。3.编写build.xml,主要是配置项目路径和nginx路径。ant文件配置,选择项目中的build.xml,需要jdk环境。nginx服务就配置到Idea运行环境中去了。my.conf中配置hello.lua文件路径。nginx.conf中配置my
·
1.openresty-1.21.4.1-win64.zip包的下载
openresty-1.21.4.1-win64.zip包下载-C文档类资源-CSDN下载
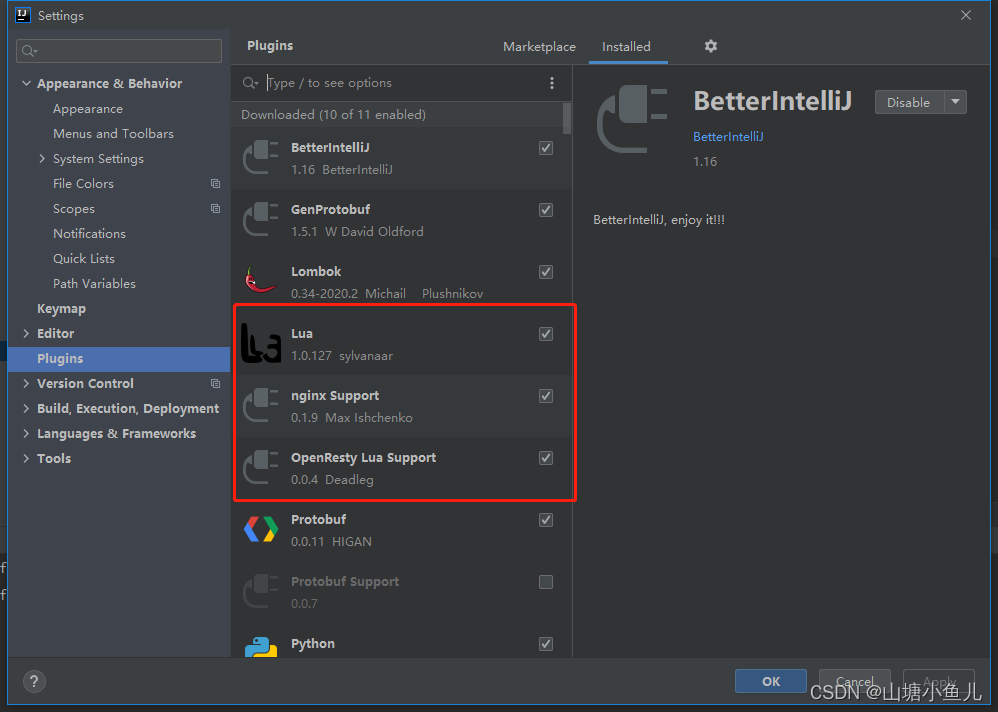
2.Idea插件添加如图:
配置 openresty-1.21.4.1-win64.zip解压后的目录地址
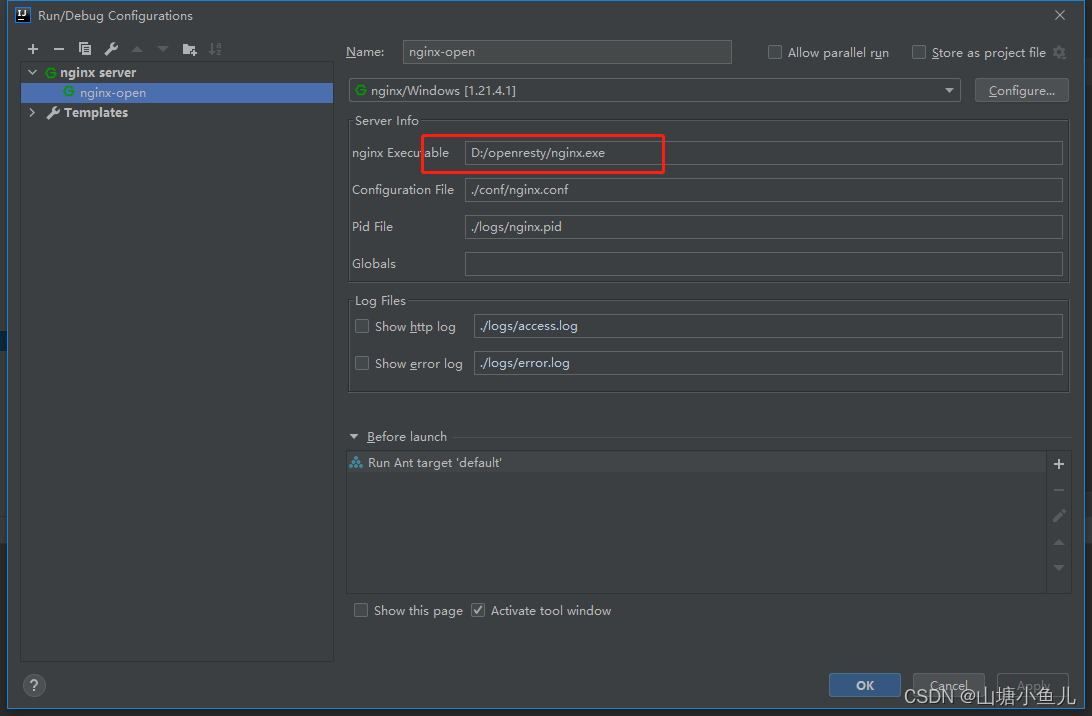
nginx服务就配置到Idea运行环境中去了
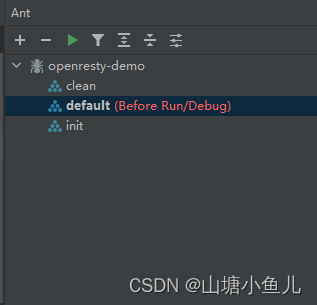
ant文件配置,选择项目中的build.xml,需要jdk环境
3.编写build.xml,主要是配置项目路径和nginx路径
<project name="openresty-demo" default="default" basedir=".">
<description>
This is the Test of OpenResty !
</description>
<property name="openresty-home" location="D:\openresty"/>
<property name="work-conf" location="${openresty-home}/conf"/>
<property name="work-src" location="${openresty-home}/lua/src"/>
<property name="work-logs" location="${openresty-home}/logs"/>
<property name="conf" location="${basedir}/conf/"/>
<property name="src" location="${basedir}/src"/>
<target name="clean" description="clean conf,src,logs">
<delete dir="${work-conf}"/>
<delete dir="${work-src}"/>
<delete>
<fileset dir="${work-logs}" includes="*.*">
</fileset>
</delete>
</target>
<target name="init" depends="clean" description="create dirs">
<mkdir dir="${work-conf}"/>
<mkdir dir="${work-src}"/>
</target>
<target name="default" depends="init" description="prepare source">
<copy todir="${work-conf}">
<fileset dir="${conf}"></fileset>
</copy>
<copy todir="${work-src}">
<fileset dir="${src}"></fileset>
</copy>
</target>
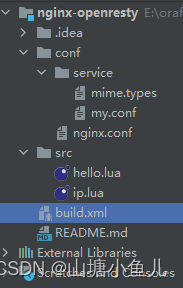
</project>整体目录结构如图:
hello.lua代码:
ngx.say("hello opresty********")my.conf中配置hello.lua文件路径
  server {
        listen       80;
        server_name  localhost;

        #charset koi8-r;

        #access_log  logs/host.access.log  main;

        location / {
            root   html;
            index  index.html index.htm;
        }
        location /hello {
                    content_by_lua_file lua/src/hello.lua;
        }
        location /ip {
                            content_by_lua_file lua/src/ip.lua;
                }

        error_page   500 502 503 504  /50x.html;
        location = /50x.html {
            root   html;
        }

        location ~ /\.ht {
            deny  all;
        }
    }
nginx.conf中配置my.conf
#user  nobody;运行用户,windows下默认nginx
worker_processes  1;#nginx线程数,建议为cpu核心数
error_log  logs/error.log;#错误日志记录文件
#pid        logs/nginx.pid;#当前pid记录文件


events {
    worker_connections  1024;#最大并发数。
}


http {
    include       service/mime.types;#浏览器支持文件类型
    default_type  text/html;#默认类型

    #日志格式
    log_format  main  '$remote_addr - $remote_user [$time_local] "$request" '
                      '$status $body_bytes_sent "$http_referer" '
                      '"$http_user_agent" "$http_x_forwarded_for"';
    lua_package_path    "lua/?.lua;;";
    lua_package_cpath   "lualib/?.so;;";

    access_log  logs/access.log  main;    #访问成功日志记录
    sendfile        on;#开启高效传输模式

    keepalive_timeout  65;

    gzip  on;#启动压缩

    include       service/my.conf;
}
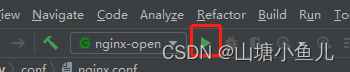
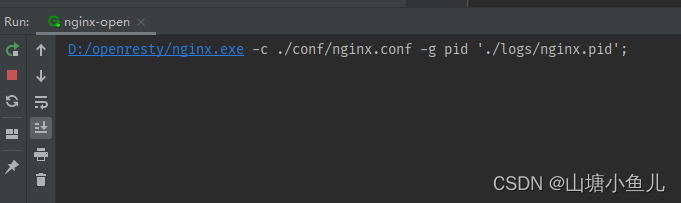
4.点击运行项目
控制台输出:
打开浏览器输入地址http://localhost/hello
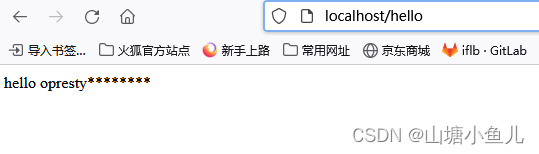
以上完成!

一站式 AI 云服务平台
更多推荐


 1
1 0
0- 0


 已为社区贡献2条内容

所有评论(0)