
阿晨的运维笔记 | Ubuntu部署Kafka集群
开始部署之前,建议先按照Ubuntu切换到国内镜像源操作一下,能省下大把宝贵时间!Kafka的分布式调度是依赖Zookeeper来完成的,所以还没有部署Zookeeper的小伙伴,可以参考我的另一篇博客阿晨的运维笔记 | Ubuntu部署Zookeeper集群,先部署上Zookeeper集群哦!文章目录示例机器安装Kafka修改配置文件注册为Systemd服务测试Kafka部署CMAKCluste
·
开始部署之前,建议先按照Ubuntu切换到国内镜像源操作一下,能省下大把宝贵时间!
Kafka的分布式调度是依赖Zookeeper来完成的,所以还没有部署Zookeeper的小伙伴,可以参考我的另一篇博客阿晨的运维笔记 | Ubuntu部署Zookeeper集群,先部署上Zookeeper集群哦!
文章目录
示例机器
| 主机 | IP |
|---|---|
kafka-01 |
192.168.0.1 |
kafka-02 |
192.168.0.2 |
kafka-03 |
192.168.0.3 |
安装Kafka
这里以
kafka-01为例,剩余机器配置与kafka-01一致,别忘记修改broker.id就行!
$ sudo mkdir /data/kafka && cd ~
$ wget "https://downloads.apache.org/kafka/2.7.1/kafka_2.12-2.7.1.tgz"
$ curl http://kafka.apache.org/KEYS | gpg --import
$ wget https://dist.apache.org/repos/dist/release/kafka/2.7.1/kafka_2.12-2.7.1.tgz.asc
$ gpg --verify kafka_2.12-2.7.1.tgz.asc kafka_2.12-2.7.1.tgz
$ sudo tar -xvzf kafka_2.12-2.7.1.tgz --directory /data/kafka --strip-components 1
$ sudo rm -rf kafka_2.12-2.7.1.tgz kafka_2.12-2.7.1.tgz.asc
## 更多参考 https://tecadmin.net/install-apache-kafka-ubuntu/
修改配置文件
$ sudo mkdir /data/kafka-logs
$ sudo cp /data/kafka/config/server.properties{,.bak}
$ sudo vim /data/kafka/config/server.properties

broker.id=0    # 每台主机各不相同
listeners=PLAINTEXT://0.0.0.0:9092
advertised.listeners=PLAINTEXT://<ip>:9092
delete.topic.enable = true
leader.imbalance.check.interval.seconds=5  # leader不平衡检查间隔
leader.imbalance.per.broker.percentage=1
log.dirs=/data/kafka-logs
offsets.topic.replication.factor=3
log.retention.hours=72
log.segment.bytes=1073741824
zookeeper.connect=192.168.0.1:2181,192.168.0.2:2181,192.168.0.3:2181 # zk集群地址

$ sudo vim /data/kafka/bin/kafka-server-start.sh
export JMX_PORT=12345    # 暴露jmx端口,留待监控使用
注册为Systemd服务
$ sudo adduser --system --no-create-home --disabled-password --disabled-login kafka
$ sudo chown -R kafka:nogroup /data/kafka
$ sudo chown -R kafka:nogroup /data/kafka-logs

$ sudo vim /etc/systemd/system/kafka.service
[Unit]
Description=High-available, distributed message broker
After=network.target
[Service]
User=kafka
ExecStart=/data/kafka/bin/kafka-server-start.sh /data/kafka/config/server.properties
[Install]
WantedBy=multi-user.target

## 启用服务
$ sudo systemctl enable kafka.service
$ sudo systemctl start kafka.service

## 更多参考 https://kafka.apache.org/quickstart
测试Kafka
$ /data/kafka/bin/kafka-topics.sh --create --zookeeper localhost:2181 --replication-factor 1 --partitions 1 --topic test
$ /data/kafka/bin/kafka-topics.sh --list --zookeeper localhost:2181

$ /data/kafka/bin/kafka-console-producer.sh --broker-list localhost:9092 --topic test
> Hello World

# 另外一个terminal
$ /data/kafka/bin/kafka-console-consumer.sh --bootstrap-server localhost:9092 --topic test --from-beginning
Hello World
部署CMAK
CMAK(以前称为Kafka Manager)是管理Apache Kafka集群的工具。
CMAK可以在这里下载:https://github.com/yahoo/CMAK
$ cd /data & sudo wget https://github.com/yahoo/CMAK/releases/download/3.0.0.5/cmak-3.0.0.5.zip
$ sudo unzip cmak-3.0.0.5.zip
$ sudo mv cmak-3.0.0.5 /data/cmak
$ sudo chown -R kafka:nogroup /data/cmak
$ sudo vim /data/cmak/conf/application.conf
kafka-manager.zkhosts="192.168.0.1:2181,192.168.0.2:2181,192.168.0.3:2181" # zk集群
basicAuthentication.enabled=true
basicAuthentication.username="<username>"
basicAuthentication.password="<password>"

# 注册为Systemd服务,方便后期运维
$ sudo vim /etc/systemd/system/kafka-manager.service
[Unit]
Description=High-available, distributed message broker manager
After=network.target
[Service]
User=kafka
ExecStart=/data/kafka-manager/bin/kafka-manager
[Install]
WantedBy=multi-user.target

## 启用服务
$ sudo systemctl enable kafka-manager.service
$ sudo systemctl start kafka-manager.service
然后访问http://192.168.0.1:9000就可以打开Kafka管理界面了。
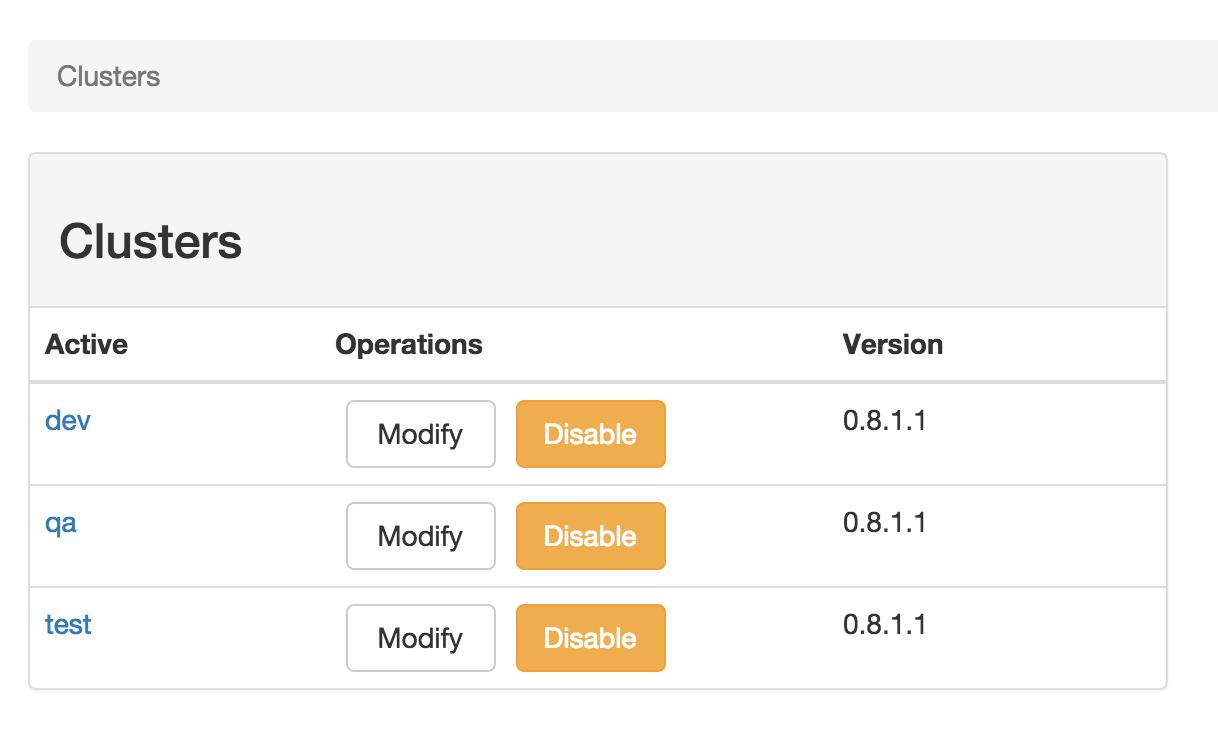
Cluster Management
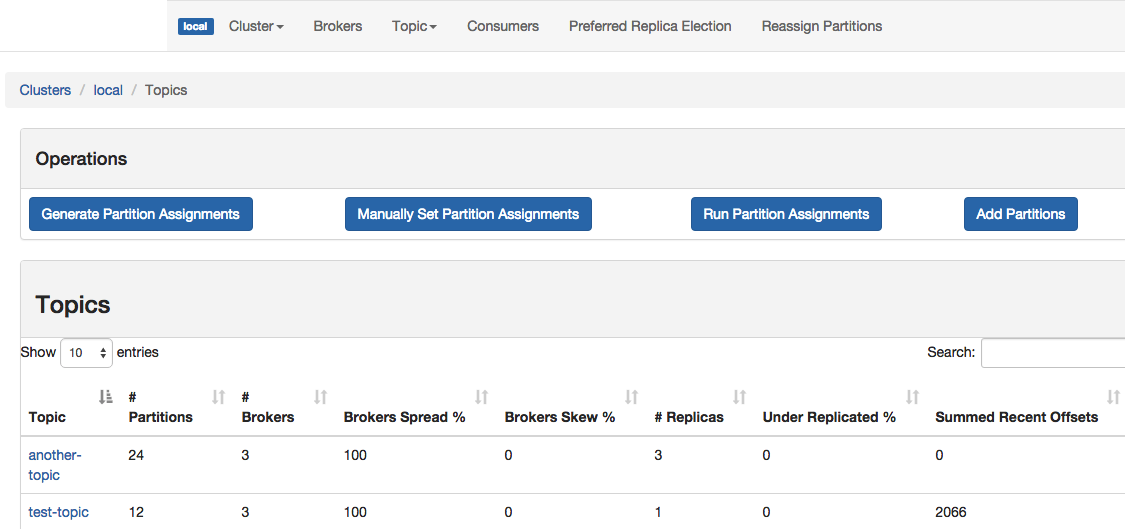
Topic List
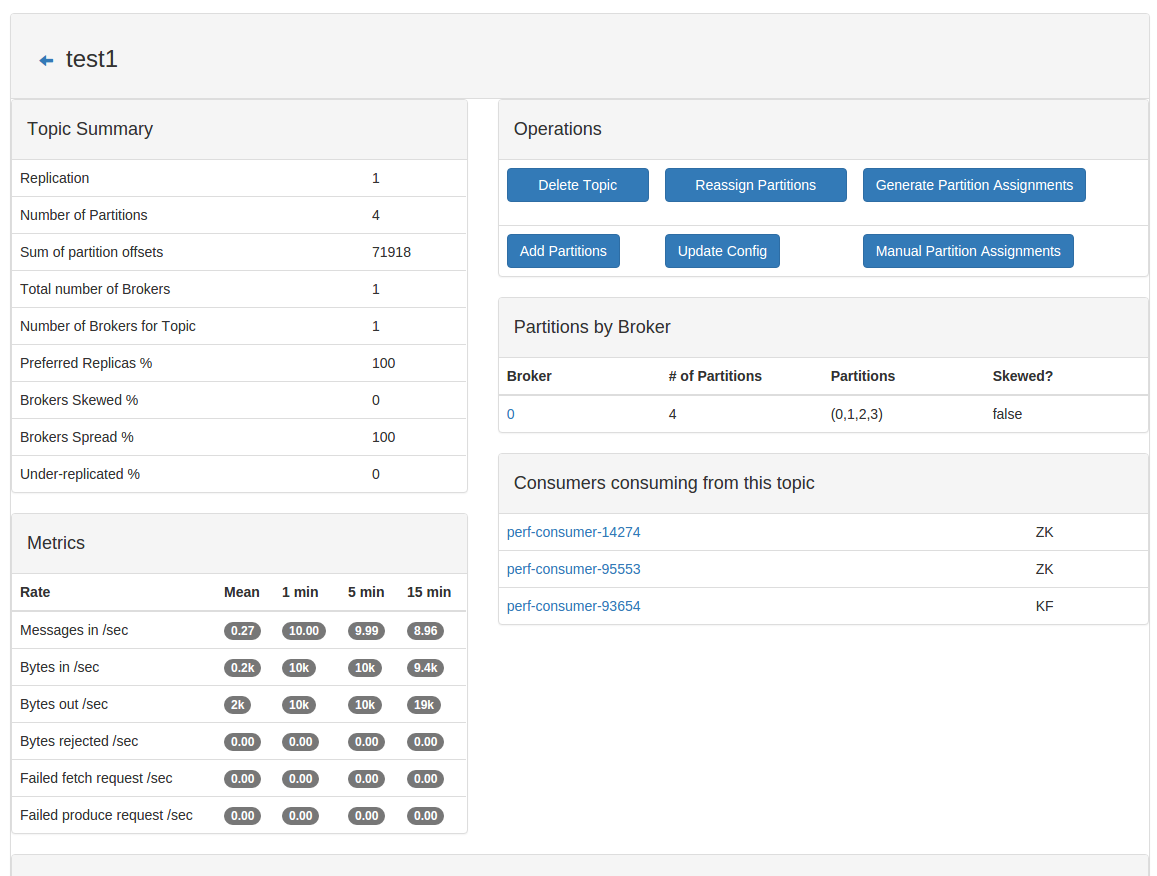
Topic View
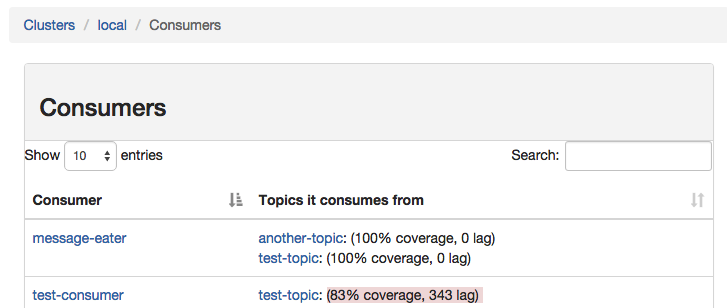
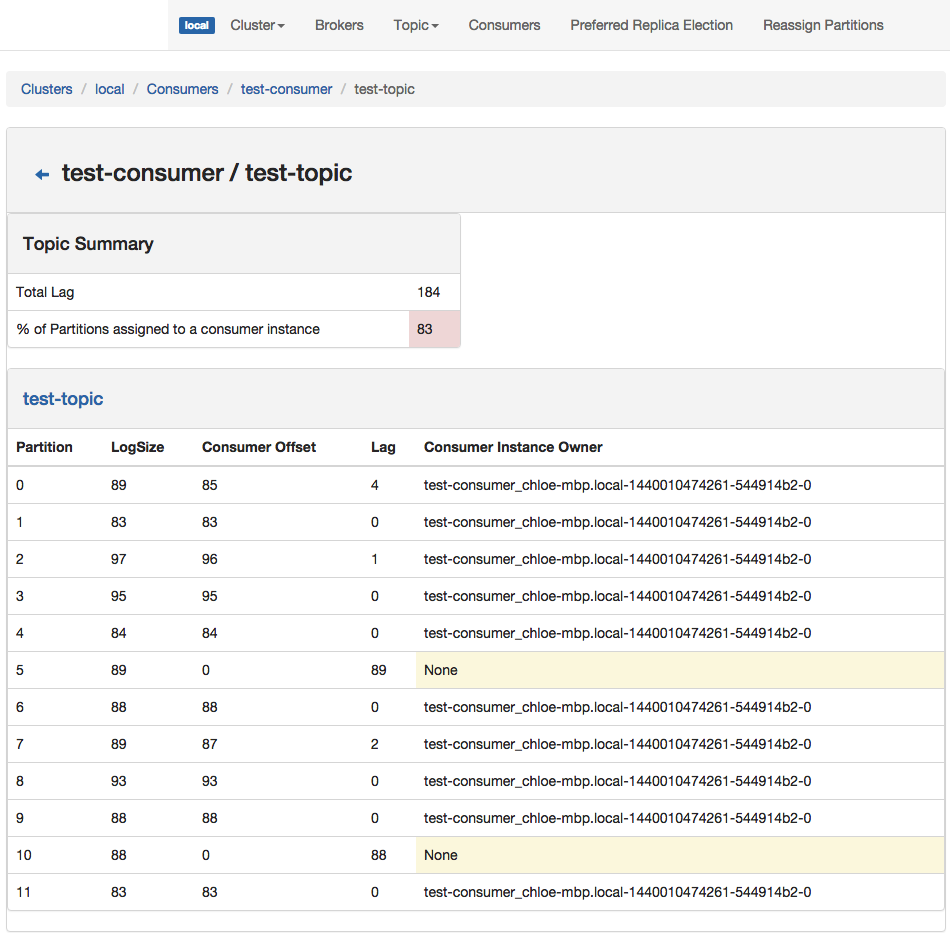
Consumer List View
Consumed Topic View
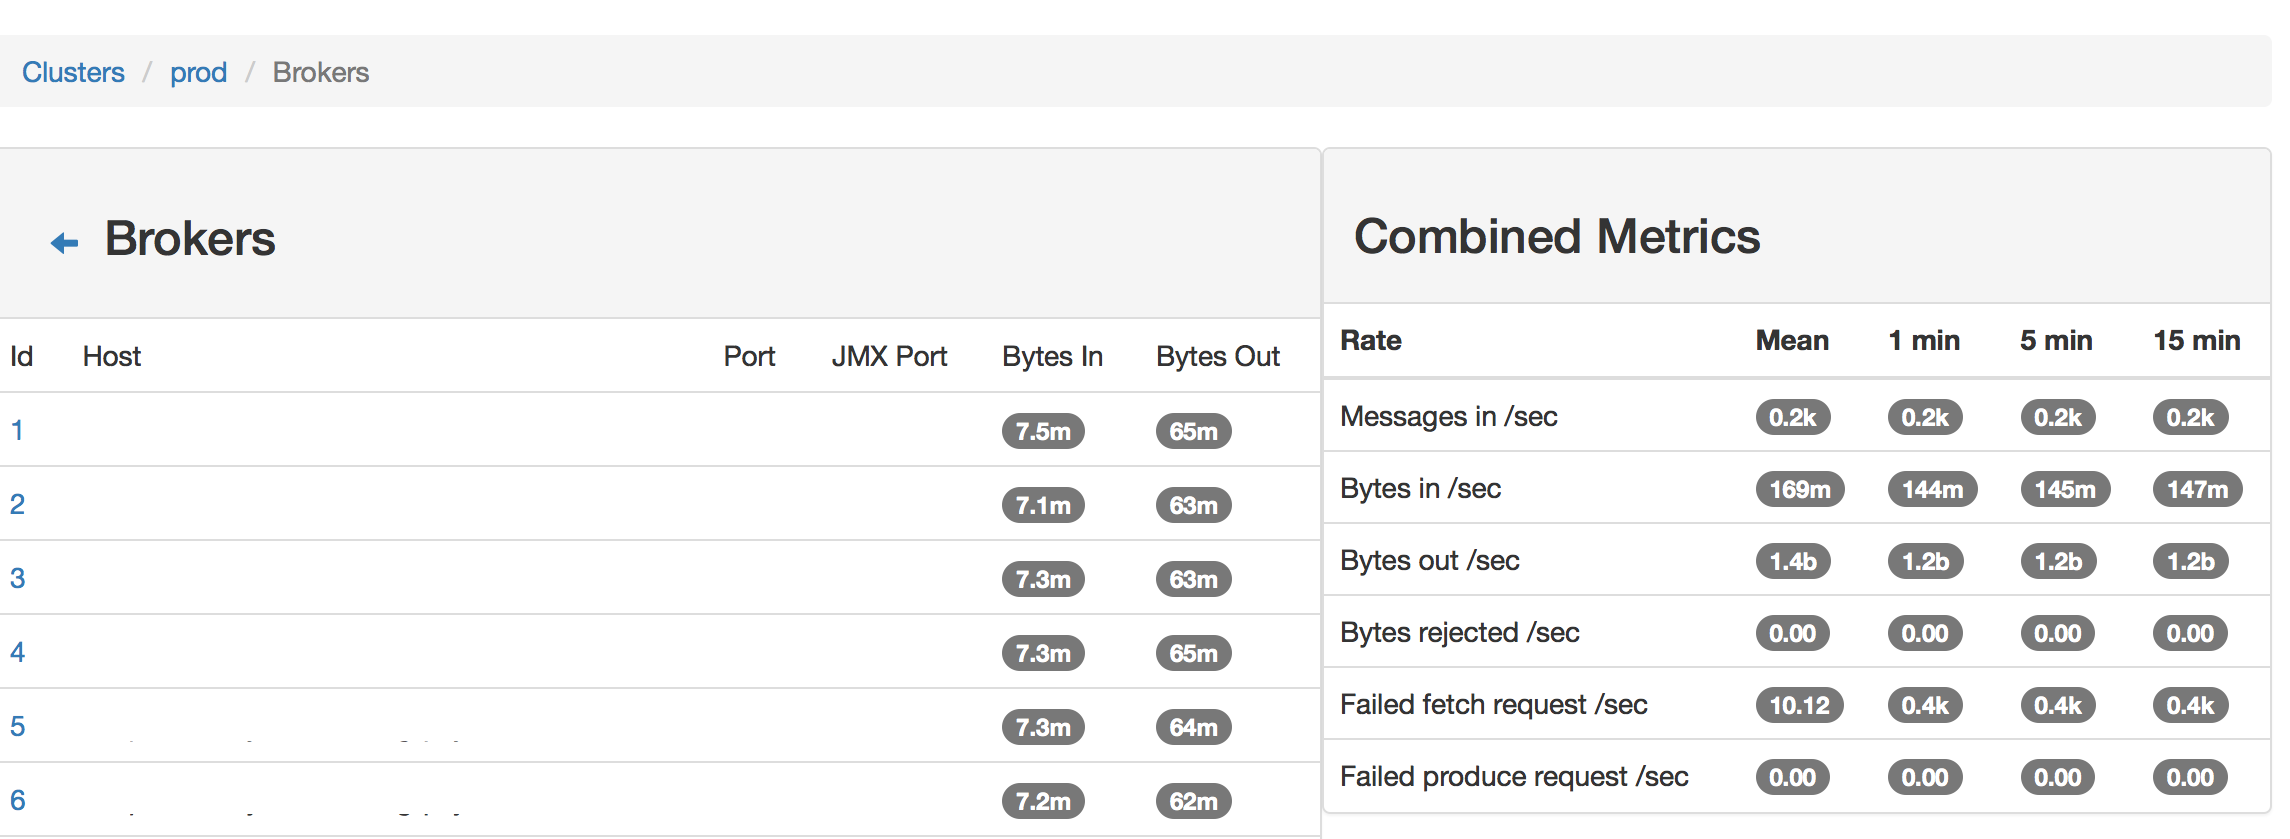
Broker List
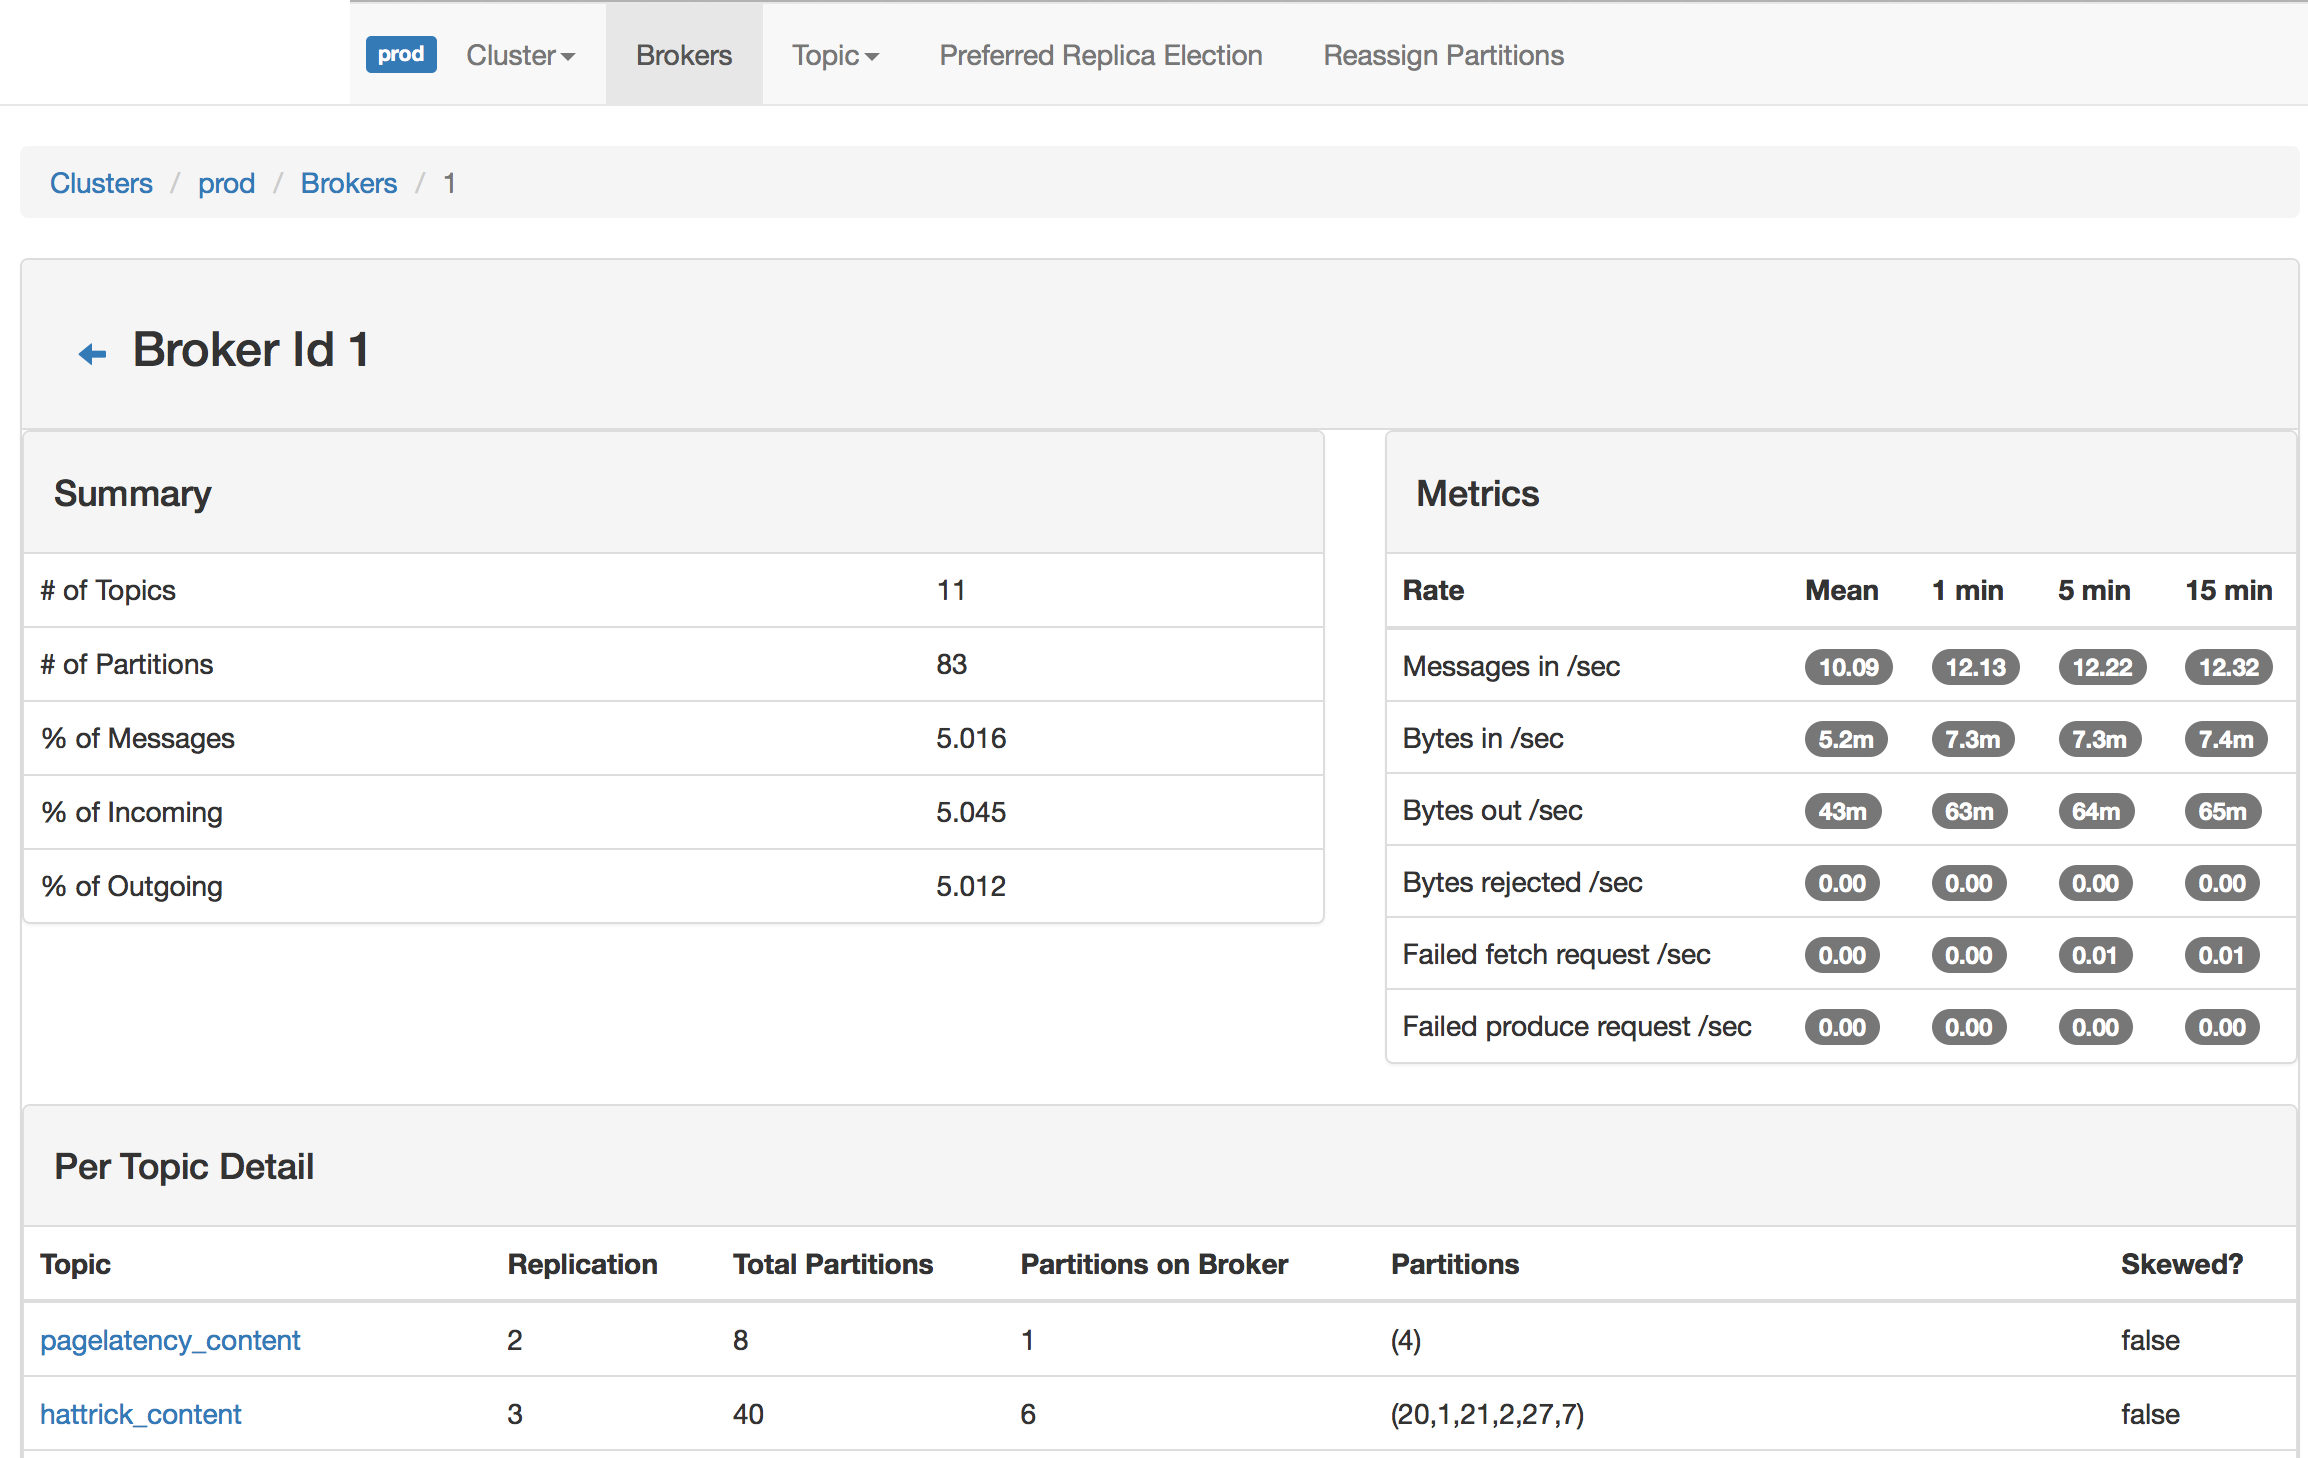
Broker View
如果本篇博客对您有一定的帮助,大家记得留言+点赞+收藏哦。
我是阿晨,在技术的道路上我们一起砥砺前行!

一站式 AI 云服务平台
更多推荐


 2
2 0
0- 0


 已为社区贡献5条内容

所有评论(0)