
跟我一起学“仓颉Web”基础编程-文件上传与下载
·
目录
一、上传
根据官方文档说明
- 构造FileHandle时需要传入一个存在的目录路径,上传到服务端的文件将保存在这个目录中;
- 上传文件时只能使用 POST 请求,其他请求返回 400 状态码;
- 上传数据的 http 报文必须是
multipart/form-data格式的,Content-Type头字段的值为multipart/form-data; boundary=----XXXXX; - 上传文件的文件名存放在
form-data数据报文中,报文数据格式为Content-Disposition: form-data; name="xxx"; filename="xxxx",文件名是filename字段的值; - 目前 form-data 中必须包含 filename 字段;
- 如果请求报文不正确,将返回 400 状态码;
- 如果出现其他异常,例如文件处理异常,将返回 500 状态码。
核心代码
package WebStudy
import stdx.net.http.*
import std.fs.*
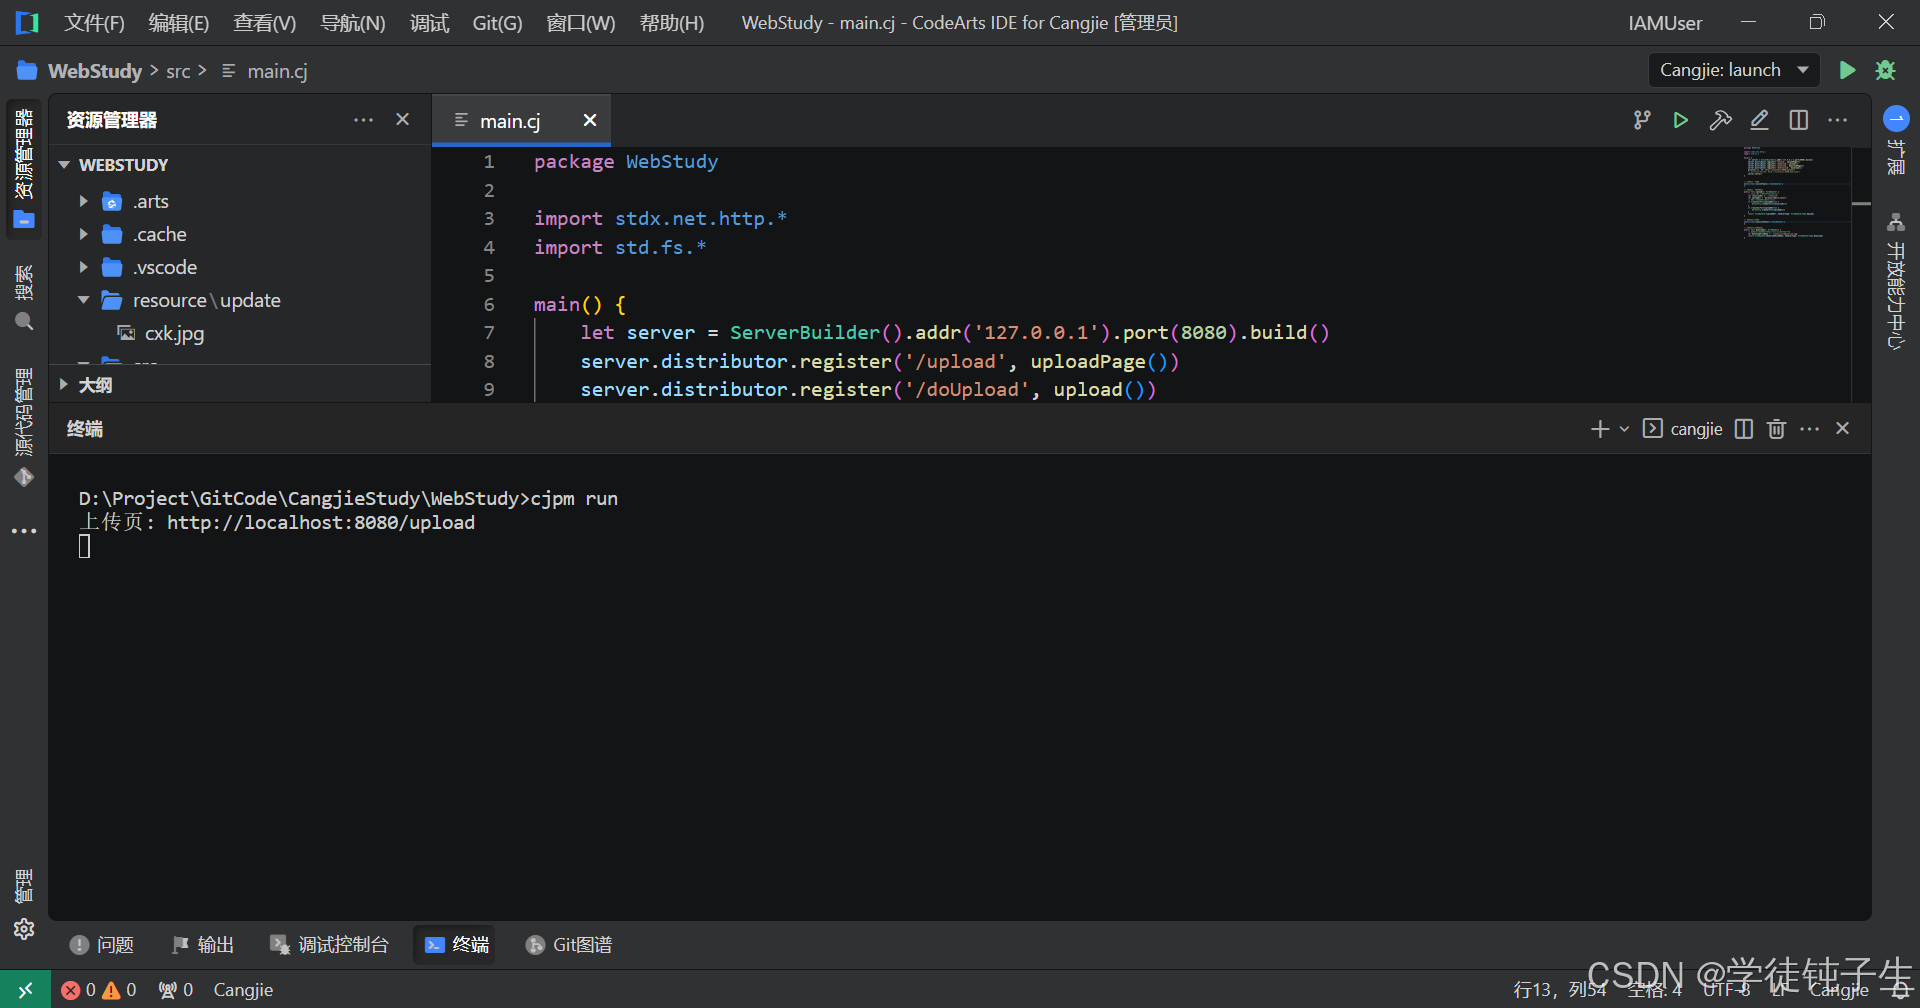
main() {
let server = ServerBuilder().addr('127.0.0.1').port(8080).build()
server.distributor.register('/upload', uploadPage())
server.distributor.register('/doUpload', upload())
println('上传页: http://localhost:8080/upload')
server.serve()
}
// 文件上传页面
public func uploadPage(): FuncHandler {
return FuncHandler { httpContext =>
let uploadPage = """
<!DOCTYPE html>
<html lang="zh-CN">
<head>
<meta charset="UTF-8">
<title>文件上传</title>
</head>
<body>
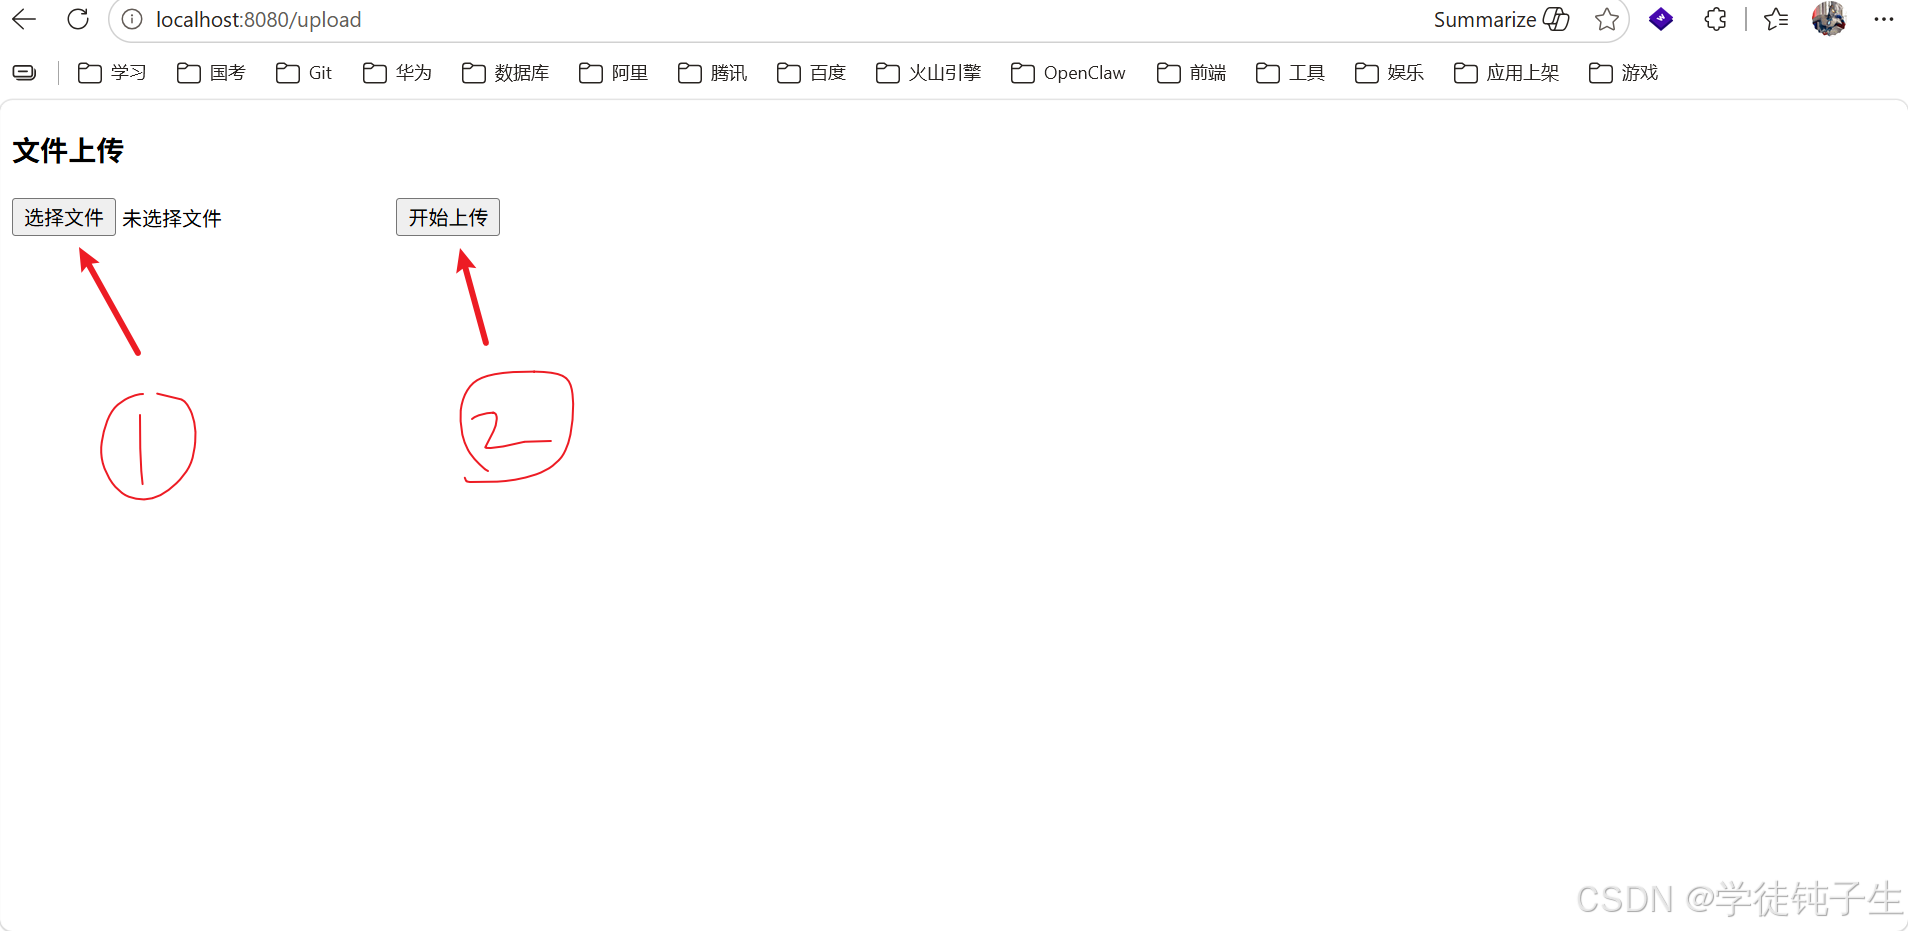
<div class="upload-box">
<h3>文件上传</h3>
<input type="file" id="fileInput" />
<button onclick="uploadFile()">开始上传</button>
</div>
<script>
async function uploadFile() {
const fileInput = document.getElementById('fileInput');
const resultDiv = document.getElementById('result');
if (!fileInput.files || fileInput.files.length === 0) {
resultDiv.textContent = "请先选择一个文件";
return;
}
const file = fileInput.files[0];
const formData = new FormData();
formData.append('file', file);
await fetch('http://127.0.0.1:8080/doUpload', {
method: 'POST',
body: formData // 浏览器会自动加上 multipart/form-data
});
}
</script>
</body>
</html>
"""
// 设置中文编码 UTF-8
httpContext.responseBuilder.header('Content-Type', 'text/html;charset=UTF-8')
httpContext.responseBuilder.body(uploadPage)
}
}
// 文件上传核心代码
public func upload(): FileHandler {
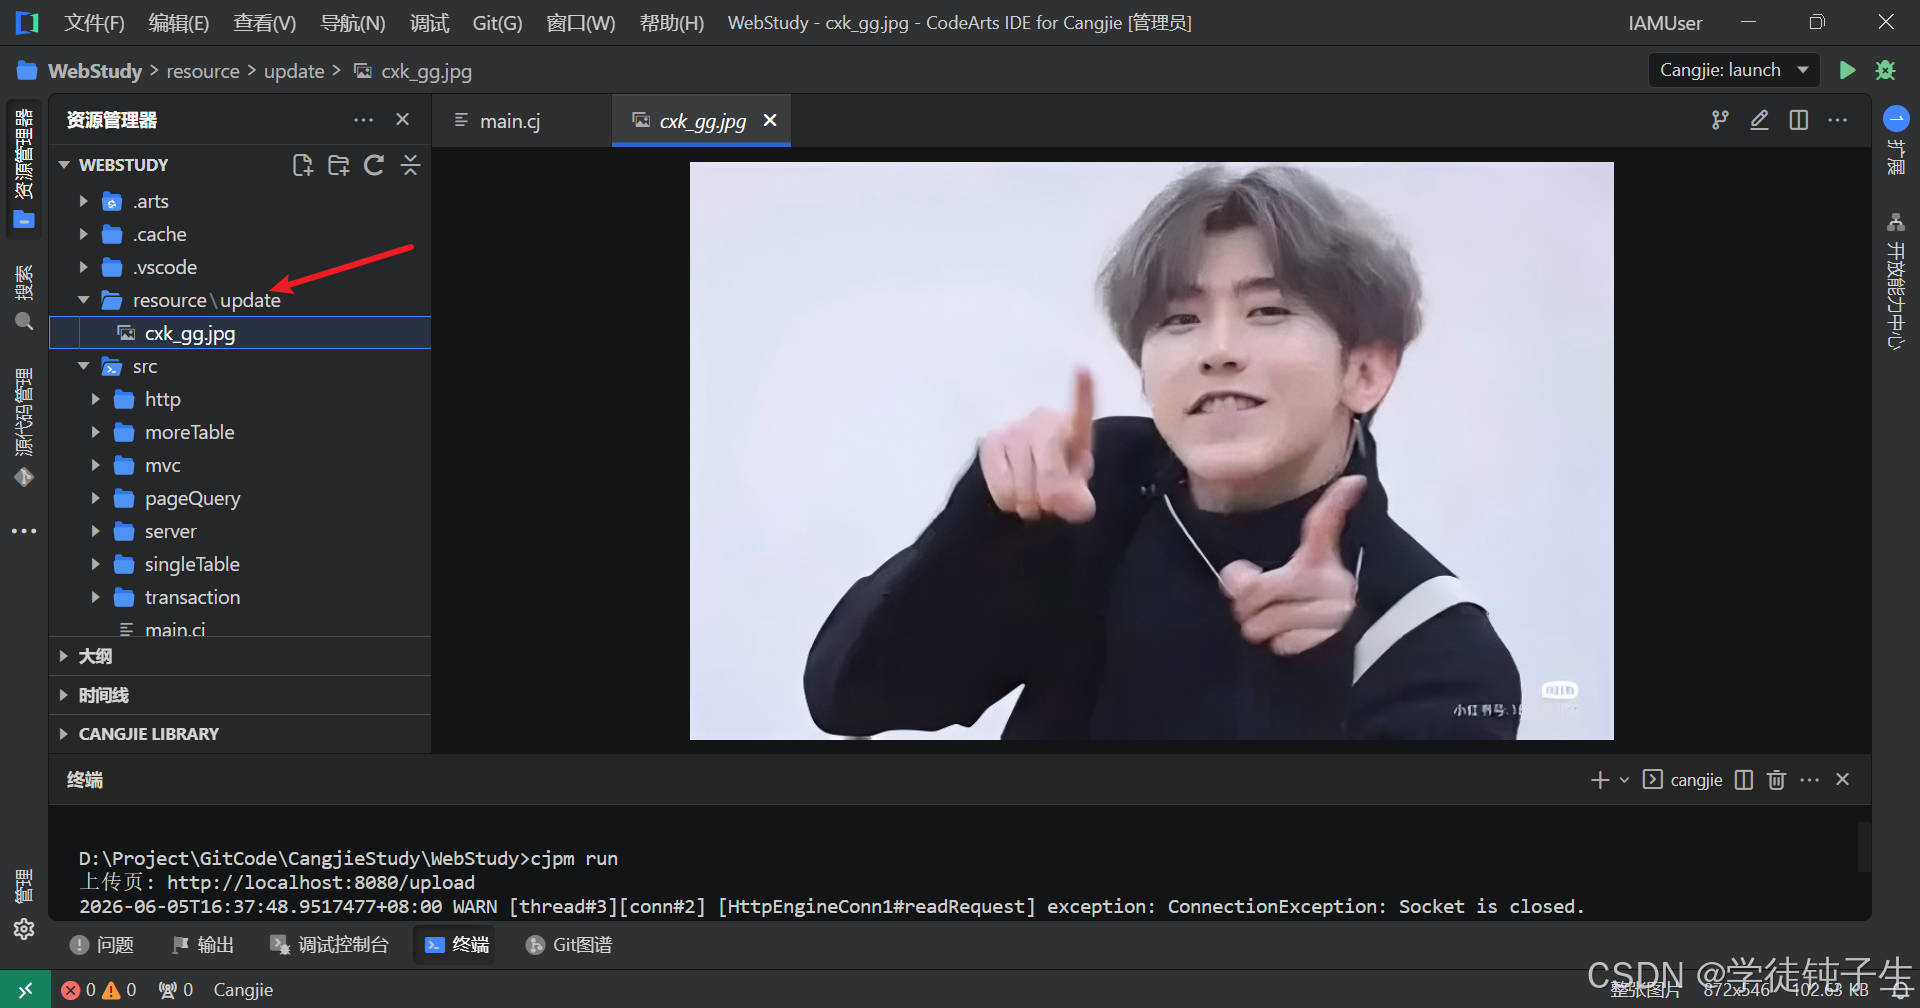
// 相对路径 在项目根目录下创建
let resourceDir = './resource'
let uploadDir = '${resourceDir}/update'
// 如果路径不存在就自动创建
if (!exists(Path(resourceDir))) {
Directory.create(Path(resourceDir))
}
if (!exists(Path(uploadDir))) {
Directory.create(Path(uploadDir))
}
return FileHandler(uploadDir, handlerType: FileHandlerType.UpLoad)
}运行结果
二、下载
根据官方文档说明
- 构造FileHandle时需要传入待下载文件的路径,目前一个FileHandle只能处理一个文件的下载;
- 下载文件只能使用GET请求,其他请求返回400状态码;
- 文件如果不存在,将返回404状态码。
核心代码
package WebStudy
import stdx.net.http.*
import std.fs.*
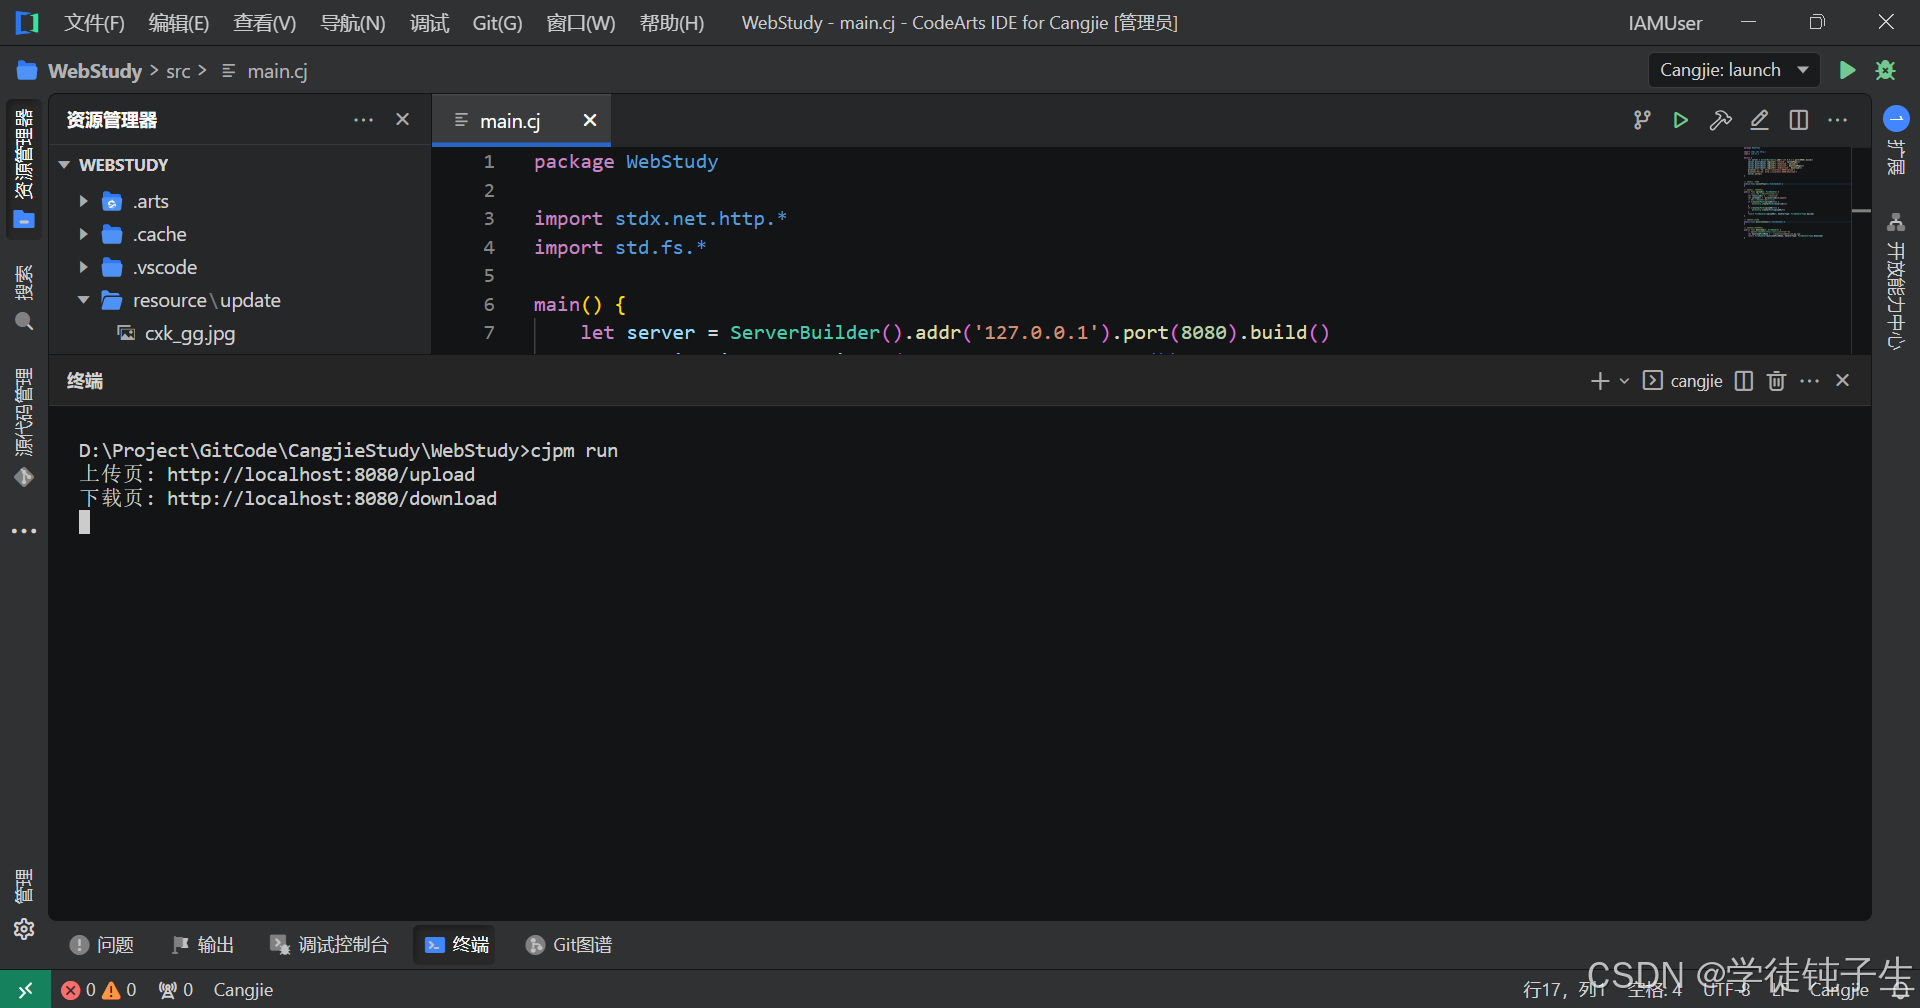
main() {
let server = ServerBuilder().addr('127.0.0.1').port(8080).build()
server.distributor.register('/download', downloadPage())
server.distributor.register('/doDownload', download())
println("下载页: http://localhost:8080/download")
server.serve()
}
// 文件下载页面
public func downloadPage(): FuncHandler {
return FuncHandler { httpContext =>
let downloadPage = """
<!DOCTYPE html>
<html lang="zh-CN">
<head>
<meta charset="UTF-8">
<title>文件下载</title>
<style>
body { margin: 50px; font-size: 16px; }
.download-box {
padding: 20px;
border: 1px solid #ccc;
display: inline-block;
}
</style>
</head>
<body>
<div class="download-box">
<h3>文件下载</h3>
<a
href="/doDownload"
download=""
onclick="setDownloadName(this)"
style="padding:8px 16px; background:#007bff; color:white; text-decoration:none; border-radius:4px;"
>
点击下载
</a>
</div>
<script>
// 自动生成时间戳,设置为下载文件名
function setDownloadName(el) {
// 生成 年月日时分秒 时间戳
const date = new Date();
const timestamp = date.getFullYear() +
String(date.getMonth() + 1).padStart(2, '0') +
String(date.getDate()).padStart(2, '0') +
String(date.getHours()).padStart(2, '0') +
String(date.getMinutes()).padStart(2, '0') +
String(date.getSeconds()).padStart(2, '0');
// 设置下载文件名为:时间戳.jpg
el.setAttribute('download', timestamp + '.jpg');
}
</script>
</body>
</html>
"""
httpContext.responseBuilder.header('Content-Type', 'text/html;charset=UTF-8')
httpContext.responseBuilder.body(downloadPage)
}
}
// 文件下载核心代码
public func download(): FileHandler {
// 需要下载的文件,这里是下载cxk哥哥的图片
let downloadFileName = './resource/update/cxk_gg.jpg'
return FileHandler(downloadFileName, handlerType: FileHandlerType.DownLoad)
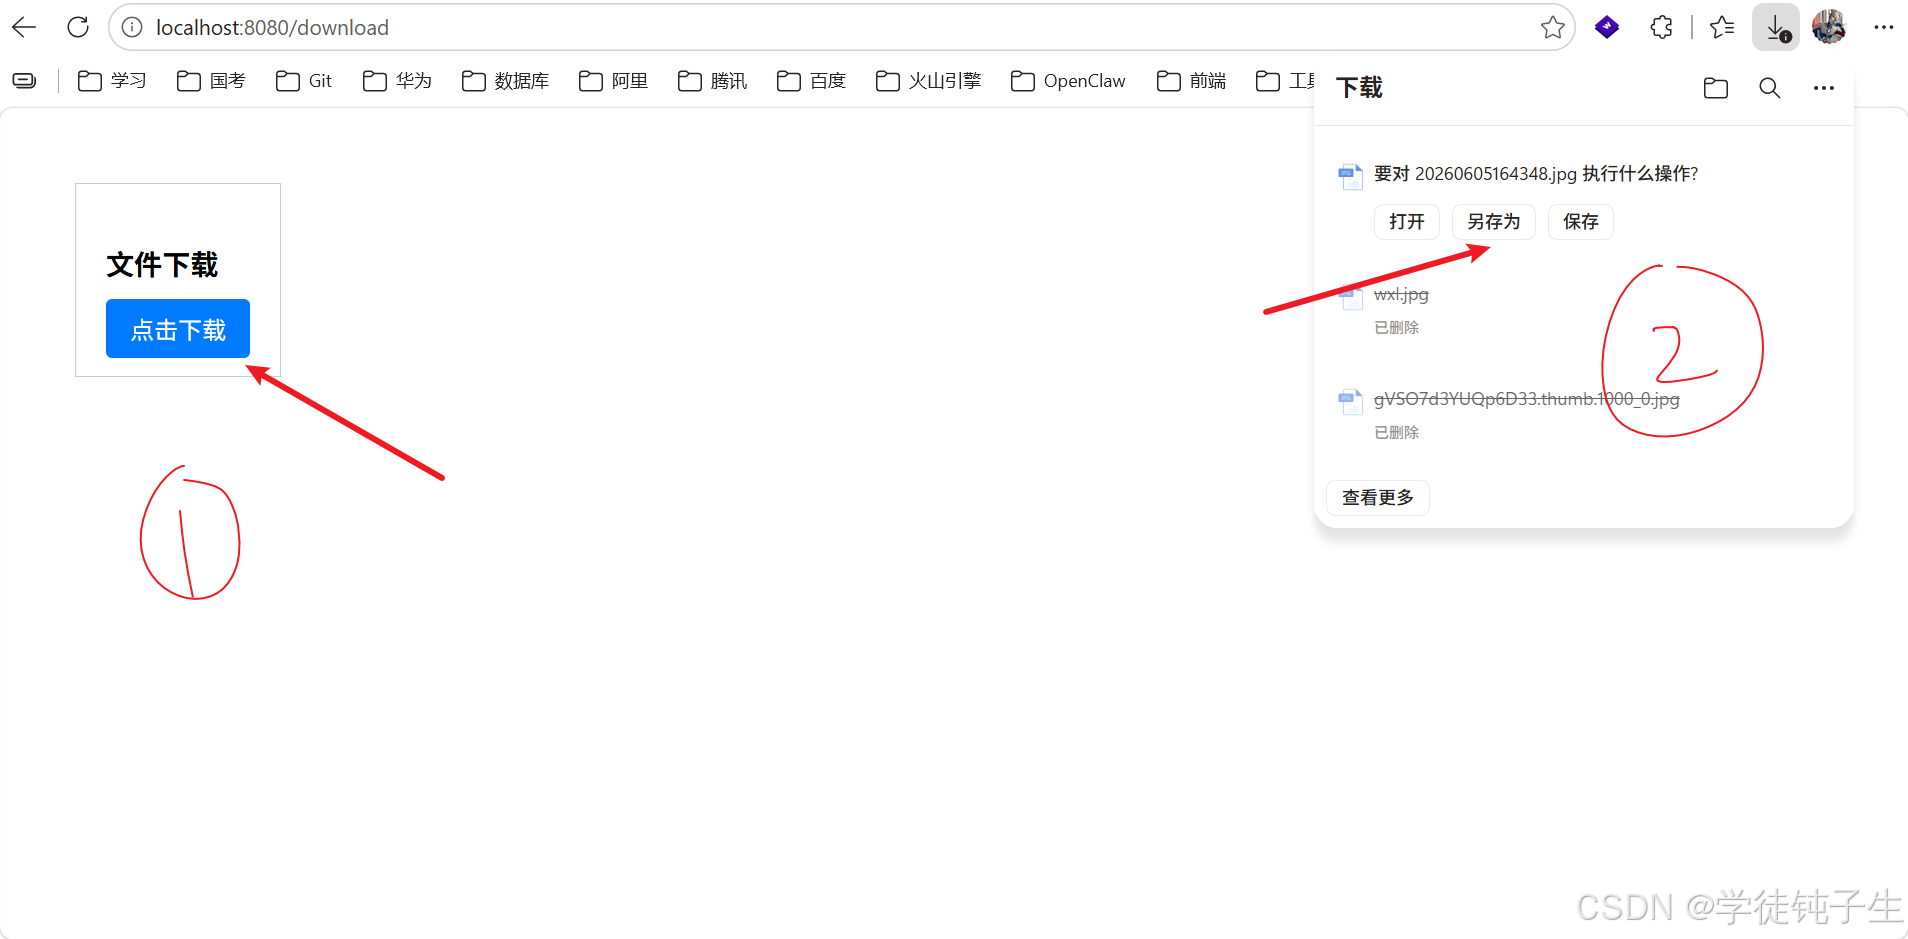
}运行结果

三、小结
本章为大家详细的介绍了仓颉Web开发中文件上传与下载的内容,下一章是仓颉Web基础的最后一个内容给大家简单实现图书管理Demo的内容。最后,创作不易,如果大家觉得我的文章对学习仓颉Web基础编程有帮助的话,就动动小手,点个免费的赞吧!收到的赞越多,我的创作动力也会越大哦,谢谢大家🌹🌹🌹!!!

一站式 AI 云服务平台
更多推荐


 12
12 0
0- 0


 已为社区贡献5条内容

所有评论(0)